Creating classes
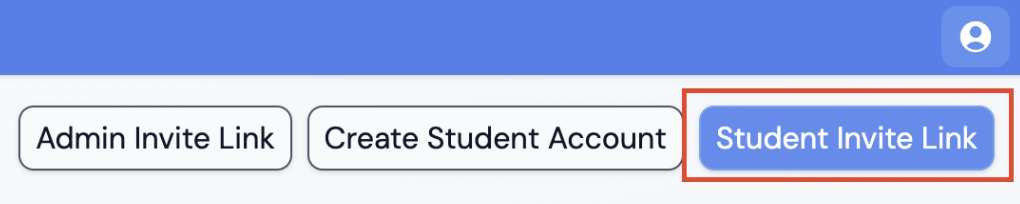
On the “Classes” tab in your account, create one class for each class of students you have. On each class's page, you can copy the “Student Invite Link” and send that to your students on your LMS (Google Classroom, Canvas, etc.) on the first day of class.
Students can log in with Google or create accounts with a username or password. Note: Some schools require tech department approval to use Google Login with new websites.
Alternatively, you can create student accounts one by one with the “Create student account” button. If you have many students, contact the Pickcode Team and we can create accounts for students with a spreadsheet of their emails and what classes they’re supposed to be in.
We can also create totally anonymous accounts for your students. Please contact the Pickcode team if you need this service.
The classes screen
Once students join your class, you'll see a list of them. Clicking a student allows you to change their password or remove them from the class. Also, if you have any co-teachers who you've invited to your class with the "Admin Invite Link" button, you'll see them there as well.
Extra options
Access these via the "Options" button on an individual class's screen.
- "Students can find lessons through Explore tabs": Individual users get access to the "Explore" tab, with some free lessons that we provide as a sample. By default, when students are rostered in your classes, they can't see the explore tab but if you'd like them to access those lessons you can change this option to "Yes".
- Require students to sign up with google: When you send students the class invite link and they don't already have an account, they are prompted to create one. If you set this option to "Yes", the students will only be able to create an account with Google login.